I haven’t solved my programming challenge entirely. But I have gotten half way there. By cheating. – What I mean is I have found help on the web.
After downloading all of Texas USGS topography as DRG, I found a script by Samuel (his awesome blog’s at gissolved.blogspot.com) that searches any starting directory and its subdirectories for geo-referenced raster files, reads their geographic extent, creates a polygon feature of that extent and writes it into a shapefile. When I saw that, I realized that I was half way there. Thanks Sam for the help.
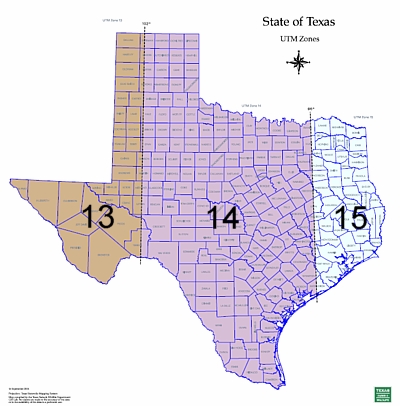
I ran the script once which – parsing through approx. 4500 TIF’s – took some time. When I tried to add the resulting SHP to my map, I realized that the coordinates extracted from the GEOTIFF’s were in UTM. To project and plot the SHP correctly, since Texas is so large that it covers three UTM zones (13,14,15), I had to split the features up.

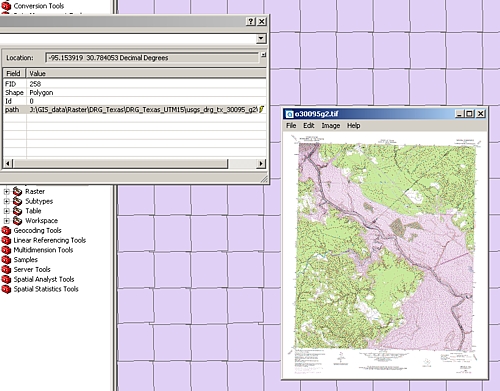
Rather than splitting up the SHP, I simply copy/pasted (somewhat laboriously) the TIFF’s into three separate folders and ran the script again. Now, all I had to do is project each SHP in the correct UTM zones using ArcToolBox, and then add all three of them to my map. The neat thing is that each feature has as attribute a reference to the location of the TIFF, so that by clicking on it, you can either open/view the TIFF or see the location where it is stored.

Now, I just need to figure out how clicking on that reference or another link/button, I can add that particular TIFF to the map.

Nice post and glad to see that the script was useful to you ! The python script used in this post can be found here http://arcscripts.esri.com/details.asp?dbid=16246.